
Trim boards
The trim boards are removed from the walls by the homeowner
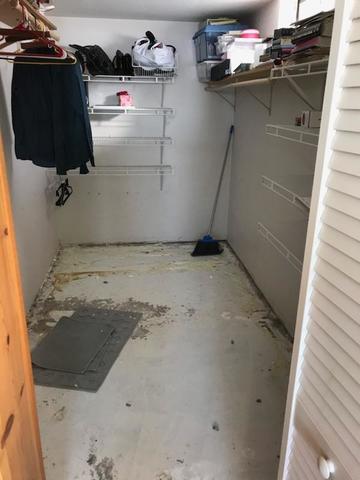
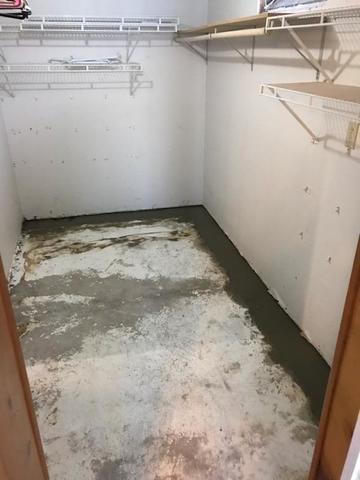
Closet
WaterGuard needs to be installed in this closet because it is on the perimeter of the house
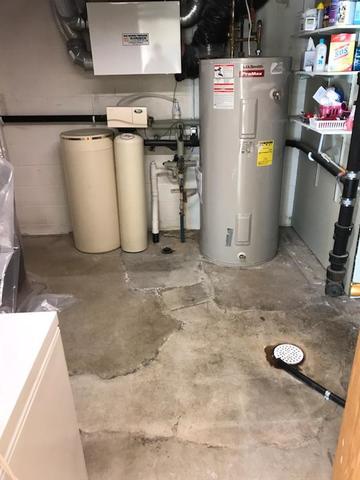
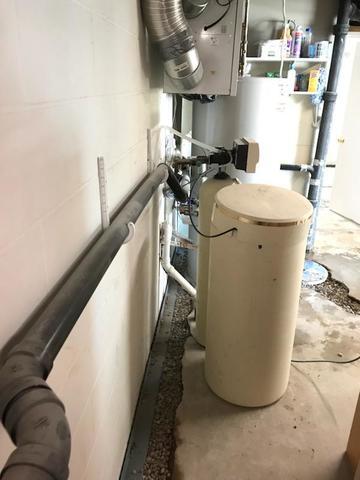
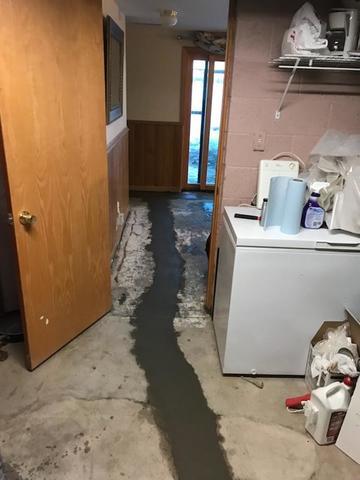
Utility Room
This is where the SuperSump will be installed
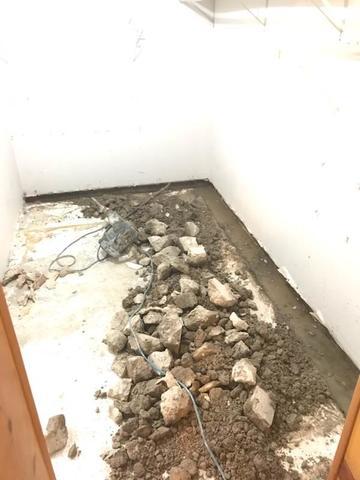
Closet
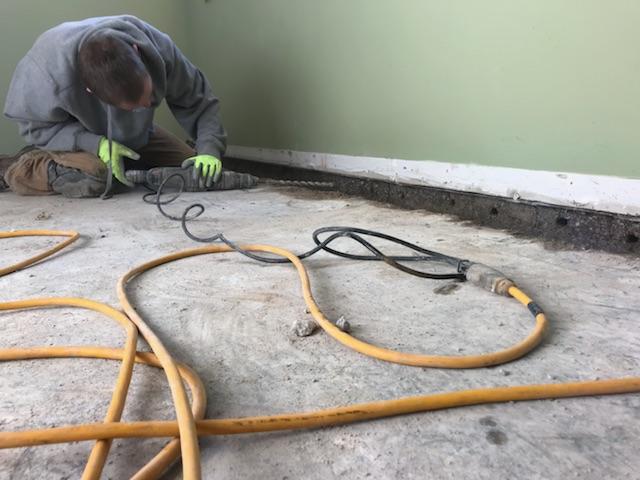
Jackhammering the closet in order to install the WaterGuard
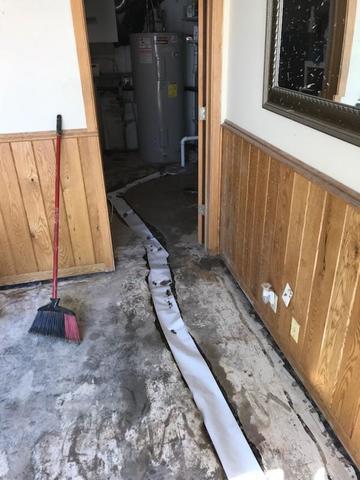
Debris cleared
The trench is completed and the debris is cleared
Trench Drain
The trench drain is placed in front of the sliding doors
WaterGuard
WaterGuard is placed in the trench and connected on both sides of the trench drain
Drain Line
The drain line to the sump that is collected from the WaterGuard system
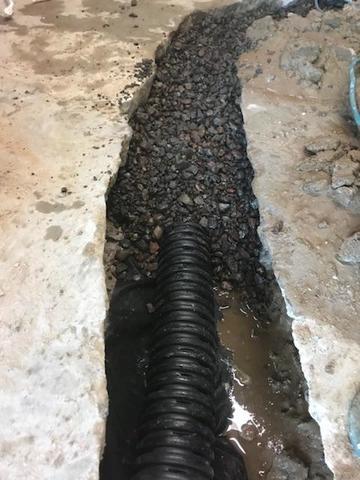
Covering
The drain line to the sump is dug and the drain line is covered with rock
Mesh covering
The drainline is covered with a mesh type fabric to prevent any build up from occuring
Port
This is a clean out port on the WaterGuard, a safeguard in case a build up does occur
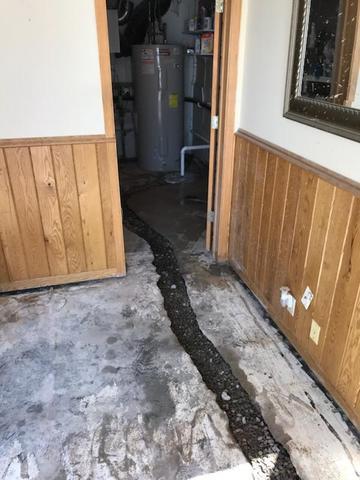
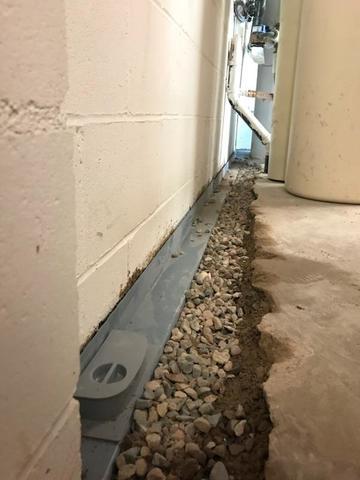
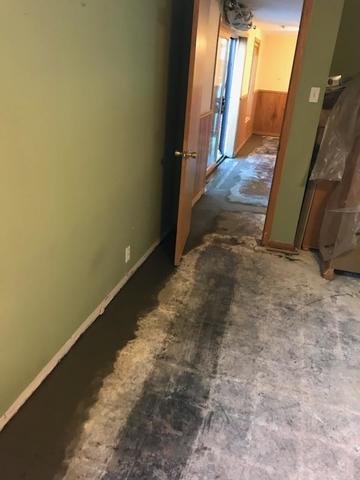
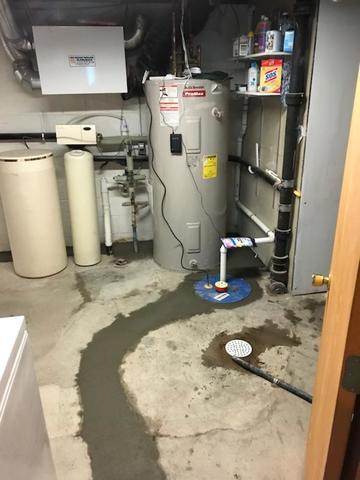
Utility room
This is the WaterGuard in the utility room along the backwall behind the sump
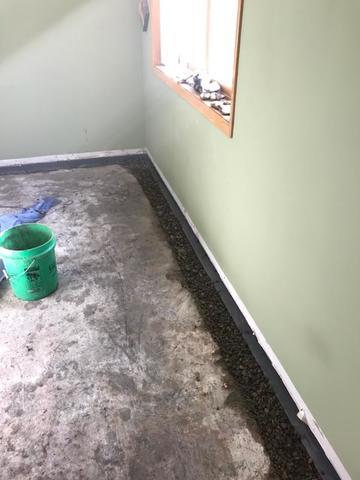
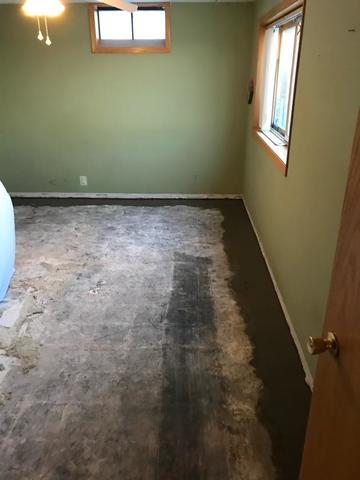
Bedroom
This is the WaterGuard system in the basement bedroom with rocks in the trench ready to be covered
Cement Over
Finished with the job, waiting for the cement to dry
Full length view
A full length view of the perimeter of the wall after the install is finished
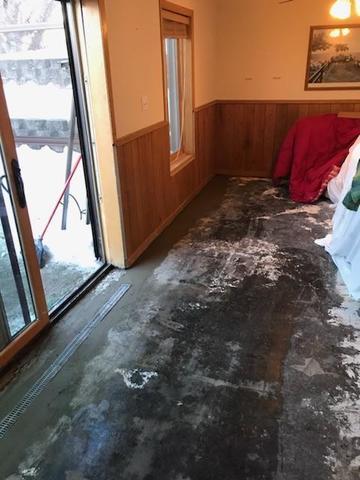
Trench drain
We do not cement over the trench drain in case water does come in from these sliding glass doors, the system will catch it before damage can occur
Closet
The after look of the closet with WaterGuard installed
Finished
The drain line is re-cemented all the way through to the utility room
Homesitter 700
The Homesitter 700 is connected to the SuperSump system ready to alert the home owner of a potential problem if something does occur
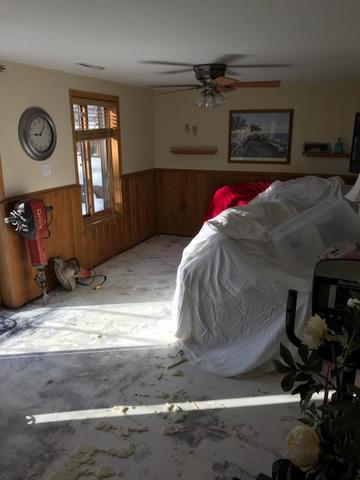
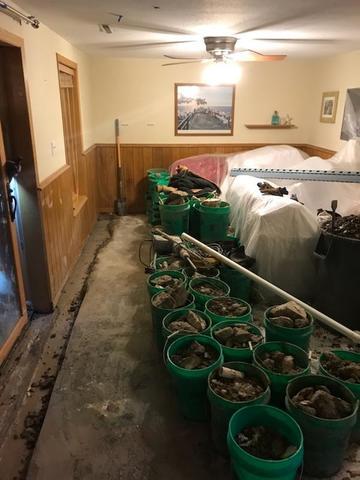
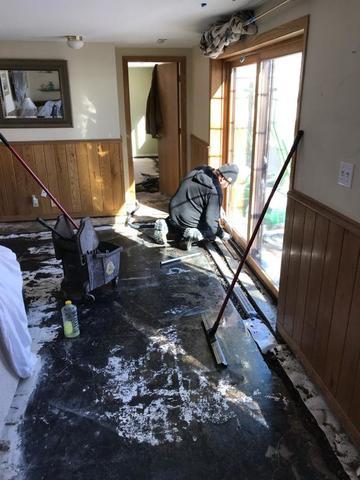
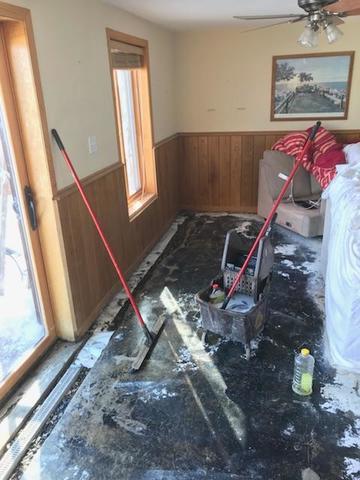
Before
This homeowner's possessions are covered with plastic and moved away from the walls.
Drilling Holes
These holes we are drilling are to prevent water from building up in the concrete block walls